
 Use cases
 Messaging
 Taxi Companies
 Private Transport
 Transportation Entrepreneurs
 Last Mile
 SuperApp
 Software
 Taxi dispatch
 Corporate transportation
 Auction
 Products
 Booking Software
 Dispatch Platform
 Driver App
 Passenger App
 Web Widget
 Functions
 Schedule & Booking
 Driver Management
 Custom
 Corporate Portal
 Security & Support
 Resources
 Learn
Learn



Accepting On-Demand Trips - Driver App
In the video below, you'll see how to accept on-demand trips, start them, and walk through the entire ride from pickup to completion.
🎬 Video: https://www.youtube.com/embed/XBDjFHPpkhA?&wmode=opaque
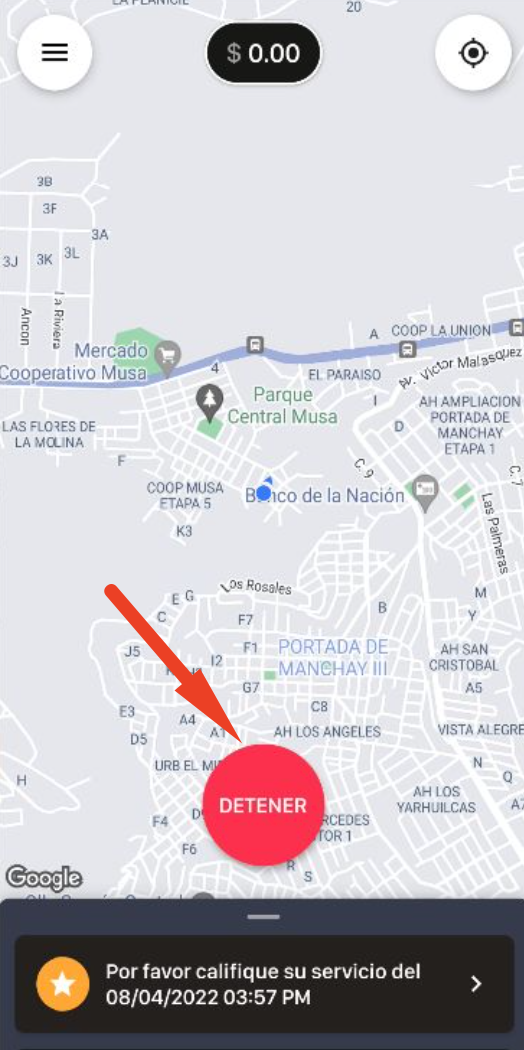
To receive alerts, the driver must be logged in to the mobile app. Once logged in, they need to go online like this:
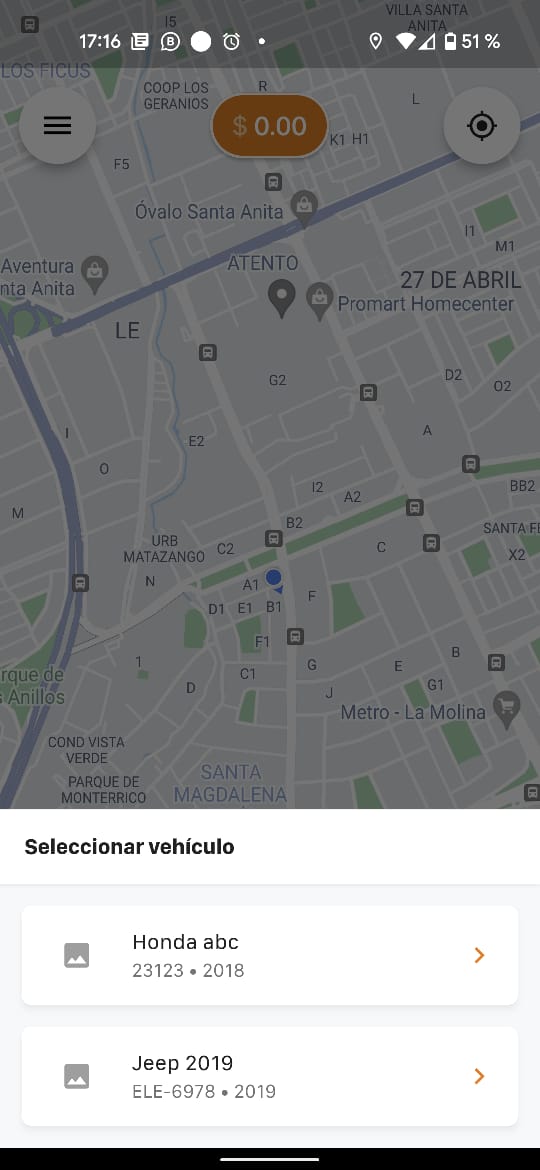
If the driver has more than one vehicle registered, they can pick one from a list like this:
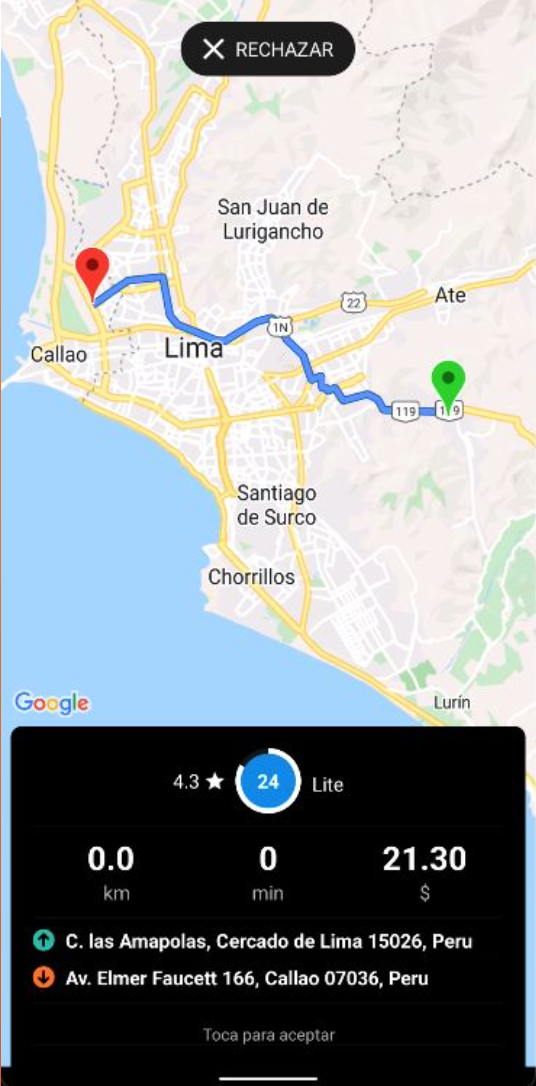
As soon as a passenger or operator requests a trip, the driver will receive the following alert in the app
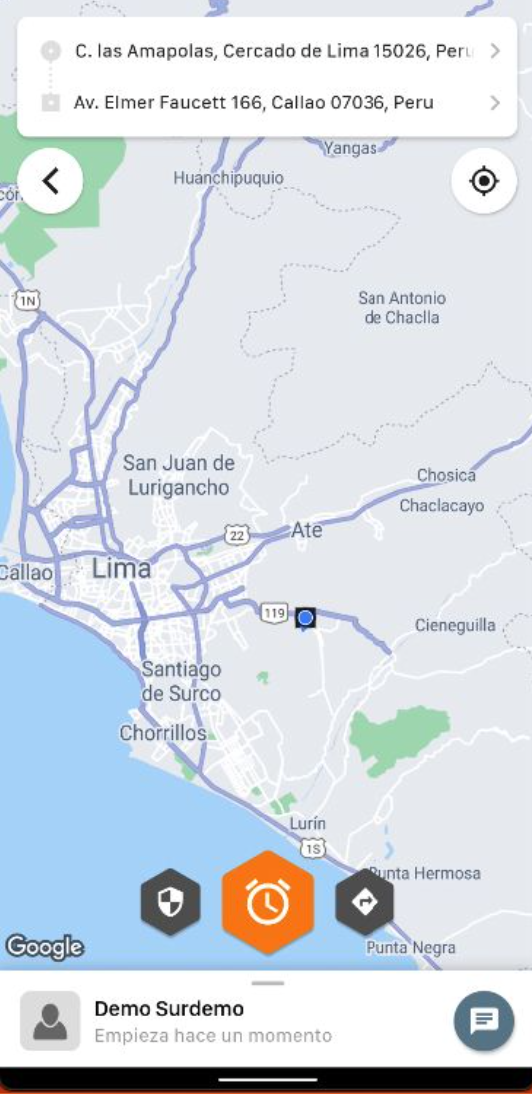
Once you accept the trip, you'll see everything you need to complete it: the address details, the rider's info, and ways to get in touch with the customer:
The next step is heading to the passenger's pickup point. To get there, you can tap the navigation button, which lets you choose either Google Maps or Waze for the route:
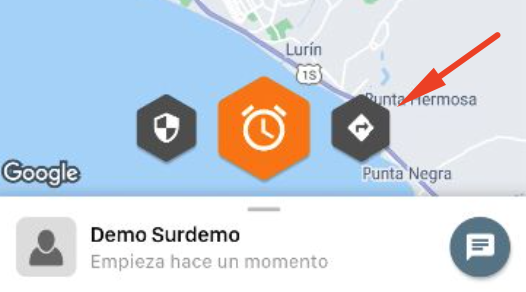
Once the driver reaches the customer's pickup point, they can tap the Arrived button to trigger the automatic alert and also chat with the rider to ask about wait time.
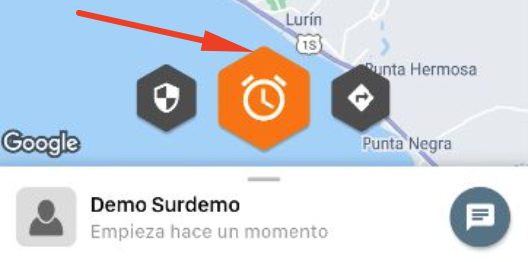
After tapping the Arrived button, the wait timer starts. If a grace period has been set up, the wait-time charge only kicks in once that period is over.
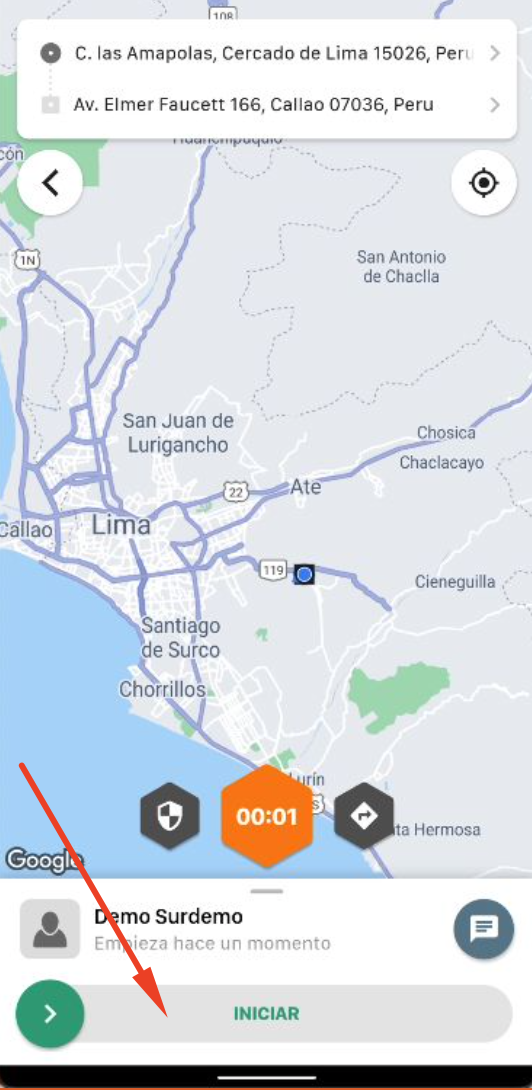
Once the driver reaches the passenger's drop-off point, they can swipe the Arrive button to see the fare to charge the customer, or recalculate it if the fare schedule is set up with that option.
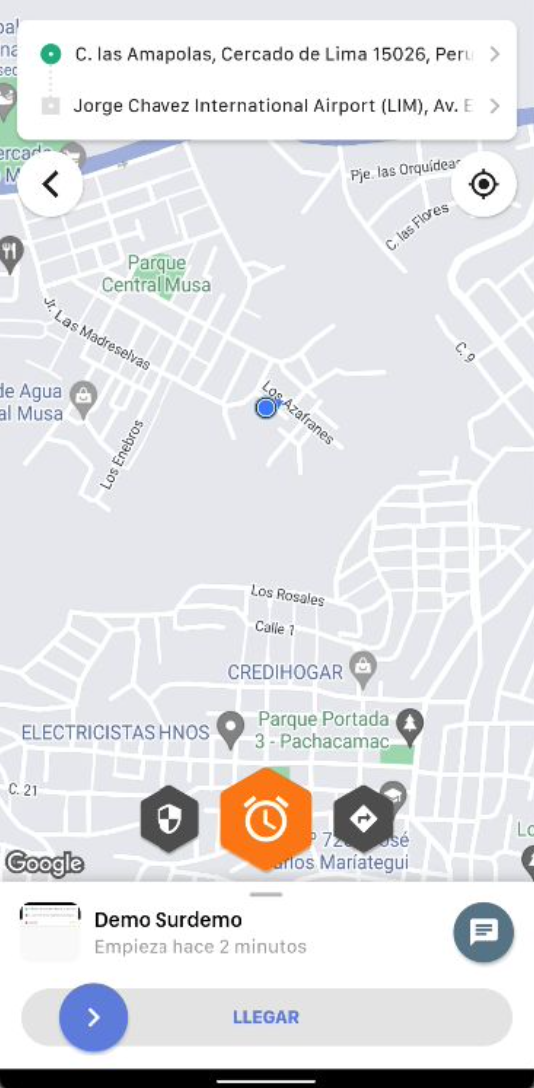
When the trip ends, you'll see the cost breakdown, the trip details, and the button to Complete the Service:
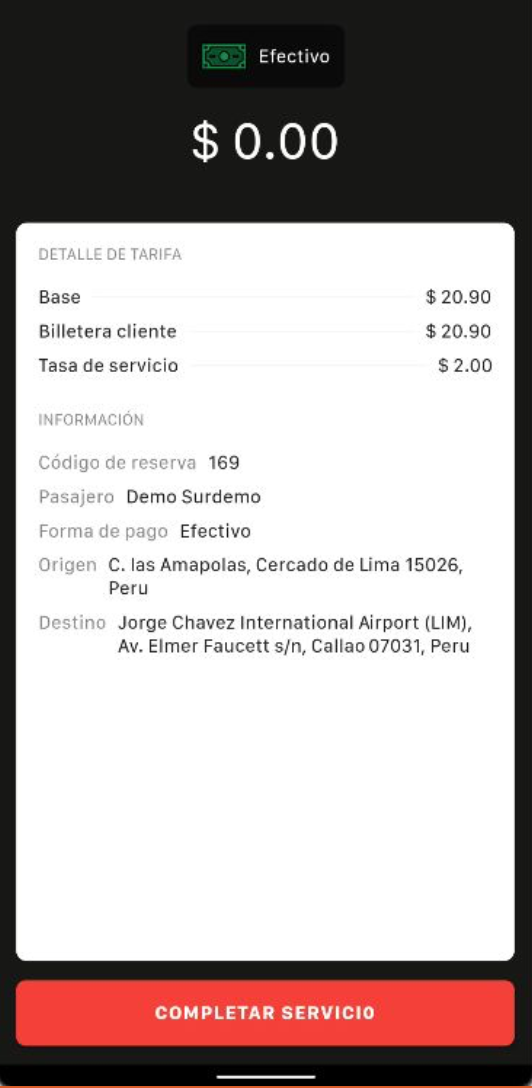
On the next screen, you can rate the passenger and leave an optional comment.
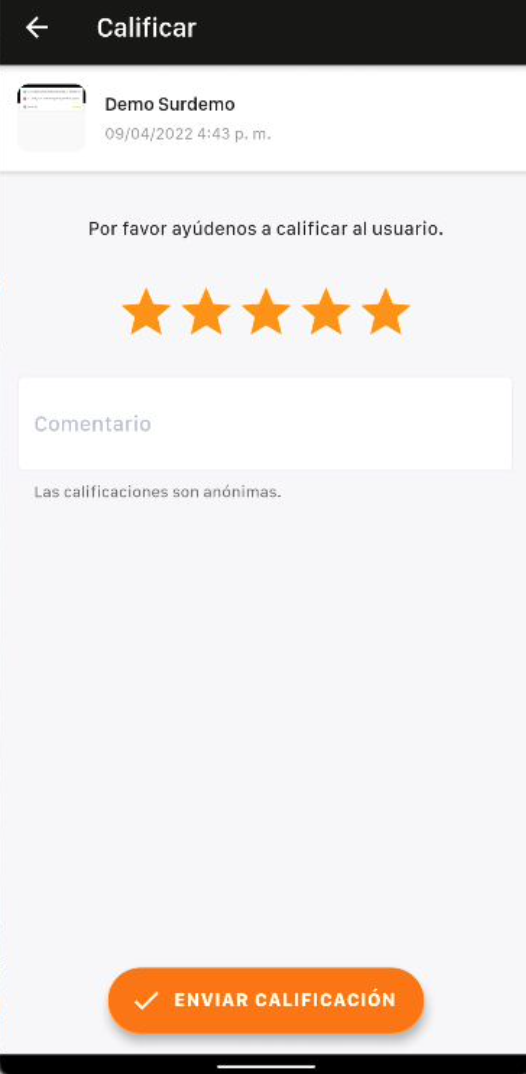
After submitting the rating, the driver becomes available to receive more trip requests.
Was this article helpful?
Getting Started
- Driver Registration
- Sign In and Receive Trip Alerts
- Accepting On-Demand Trips - Driver App